When the stator core is assembled by the fan-shaped piece, the wall of the base is generally not processed, and the segment of the core is positioned by the positioning rib. The quality of the stator core lamination determines the air gap uniformity of the motor. The air gap has a great influence on the performance of the motor. It is an important indicator to consider the running performance and quality of the motor. Therefore, the positioning rib is the benchmark of the core lamination, and it is especially important to control the precision of the welding. The steam turbine generator stator base measuring tooling is a testing Tool for detecting the positioning of the stator base and the detection of the core stack. 1. Tooling structure and method of use The stator frame rounding tool is mainly composed of a measuring center column assembly, adjusting the measuring center and the vertical component and the fixing component. In operation, the bottom plate 5 is suspended by the counterbore bolt on the assembly platform 6 with the T-shaped groove, and the vertical adjustment of the chassis 3 and the bottom plate 5 is formed by the tightening bolts and the adjusting screw 4 on the chassis 3. In the system, the measuring center column assembly 2 is fixed on the chassis 3 with the platen bolt assembly, the tightening bolt on the chassis 3 is loosened, the adjusting screw 4 is adjusted to make the measuring center column assembly 2 reach the verticality requirement, and the tightening bolt is tightened. The stator base of the turbo generator is hoisted to the rounding tooling of the stator frame, and the first is perpendicular to the rounding tool (that is, the round tooling is the axis), and the stator frame is leveled and solidified. Relaxing the pressure plate bolts measuring center column assembly 2, with the adjustment screw on the adjusting bracket assembly 1 of the measurement center column to fine-tune the measured stator frame coaxial with the center pillar, the pressed plate bolts measurement after reaching the center pillar coaxial Solid death. Centering on the measuring center column, the inner diameter measuring rod (inner diameter micrometer) is a tool to measure the position of the upper and lower points of the positioning rib. After the calibration, the welding is carried out on the stator base, and the positioning ribs are welded as required. For the same reason, the core lamination is detected by the inner diameter measuring rod. The stator frame rounding tooling is shown in Figure 1. 1. Adjusting bracket assembly 2. Measuring center column assembly 3. Chassis 4. Adjusting screw 5. Base plate 6. Assembly platform 2. Tooling measurement center column technical parameters and indicators Compared with the stator core of the hydro-generator stator, the stator core of the turbo generator has a smaller core diameter and a larger length. This means that the air gap is small, the axial distribution is long, and the accuracy of the inspection tooling is also high. The key point of the stator frame rounding tooling is to measure the center column assembly. The machining accuracy of the measuring center column is the biggest difficulty for the success or failure of the tooling. Measuring center column diameter φ200mm, length within 4000mm, dimensional tolerance and straightness tolerance are in accordance with the accuracy requirements of 6 levels, roundness tolerance according to 7 accuracy requirements, column straightness is controlled at 0.03mm per 1000mm, within 4000mm straightness is limited 0.05mm, the verticality can be adjusted by the tooling to the 7th grade accuracy φ0.25mm, and the surface roughness value Ra=1.6?m. The tooling measurement center column assembly is shown in Figure 2. 3. Implementation effect This tooling did not achieve the intended result. The cause of the problem is neither structure nor design and process, but because the processing equipment has low precision and cannot meet the requirements for use. The measuring center column was originally planned to be processed in the CNC 50-type lathe. The closed-loop detection and compensation function of the CNC machine tool was used to measure the entire measurement column, analyze the data, find the defect law, and compensate for the segmentation. Our department has worked hard with the operation technicians, branch construction technicians and branch leaders to develop feasible technical solutions. The machine tool rounding tooling should say that there are no big problems. However, in the processing of the measuring center column, due to the long-term and frequent overloading of the machine tool , more serious wear and failure occurred, and after several repairs, the machine tool could not meet the requirements for use. So abandoned this program. The accuracy requirements of the measuring center column can not meet the processing requirements for the ordinary lathe. Most of our equipment is transformed from a common lathe into a CNC lathe. Due to its obsolete and long-term heavy tasks, the machining accuracy is very low, and the new machine tools are not competent. Our company has two semi-closed-loop CNC 50-type lathes. Because it is far away from the use of the site, long-distance transportation will destroy the accuracy of the measuring center column. What is more important is that the performance of the semi-closed-loop CNC machine is lacking, and both the construction technician and the operating technician are correct. There is no practical experience in processing such slender shaft workpieces and high precision requirements, and experienced construction technicians and operating technicians of other machine tools do not understand such machine tools , so this solution cannot be implemented. In the end, it can only reduce the accuracy requirements and process it on the older CNC 50-type lathe. Post-processing test results: the surface roughness is poor, and the surface roughness value Ra=3.2?m is barely achieved by the artificial sanding method. The straightness, roundness and dimensional tolerance are too different. Cannot be used for inspection, tooling does not achieve the desired effect. 4. Conclusion Today, with the rapid development of new technologies and new achievements, we obviously feel that the knowledge we have is too aging and we cannot adapt to new technologies and equipment. Since it has never been responsible for equipment management and production construction and operation of CNC machine tools , it has little knowledge of machine tools and machining, so it is too shallow in terms of processing technology. What is the effect of the semi-closed-loop 50-type CNC lathe? Therefore, there is no good idea in metal processing. In view of the metal processing magazine's advocacy: I am afraid that I can't do it, I am afraid that I can't think of it. We have imagined an idea that is difficult to achieve at the current stage for the company's current situation, that is, it is old and Whether it is possible to use the high-speed development of new CNC technology on the worn ordinary machine tools and CNC machine tools , technically transform it, add grinding head aids on the lathe, and use CNC detection and compensation functions to compensate for the manufacturing and use of the machine tool . Upgrade the machine tool to the processing capacity capable of processing 6-level precision, or the processing capability of 7-level and 8-level precision, but the cost can not be high, the user can accept and recognize the necessity of upgrading, if it can be done This goal will make a breakthrough development and improvement of the country's industrial development.
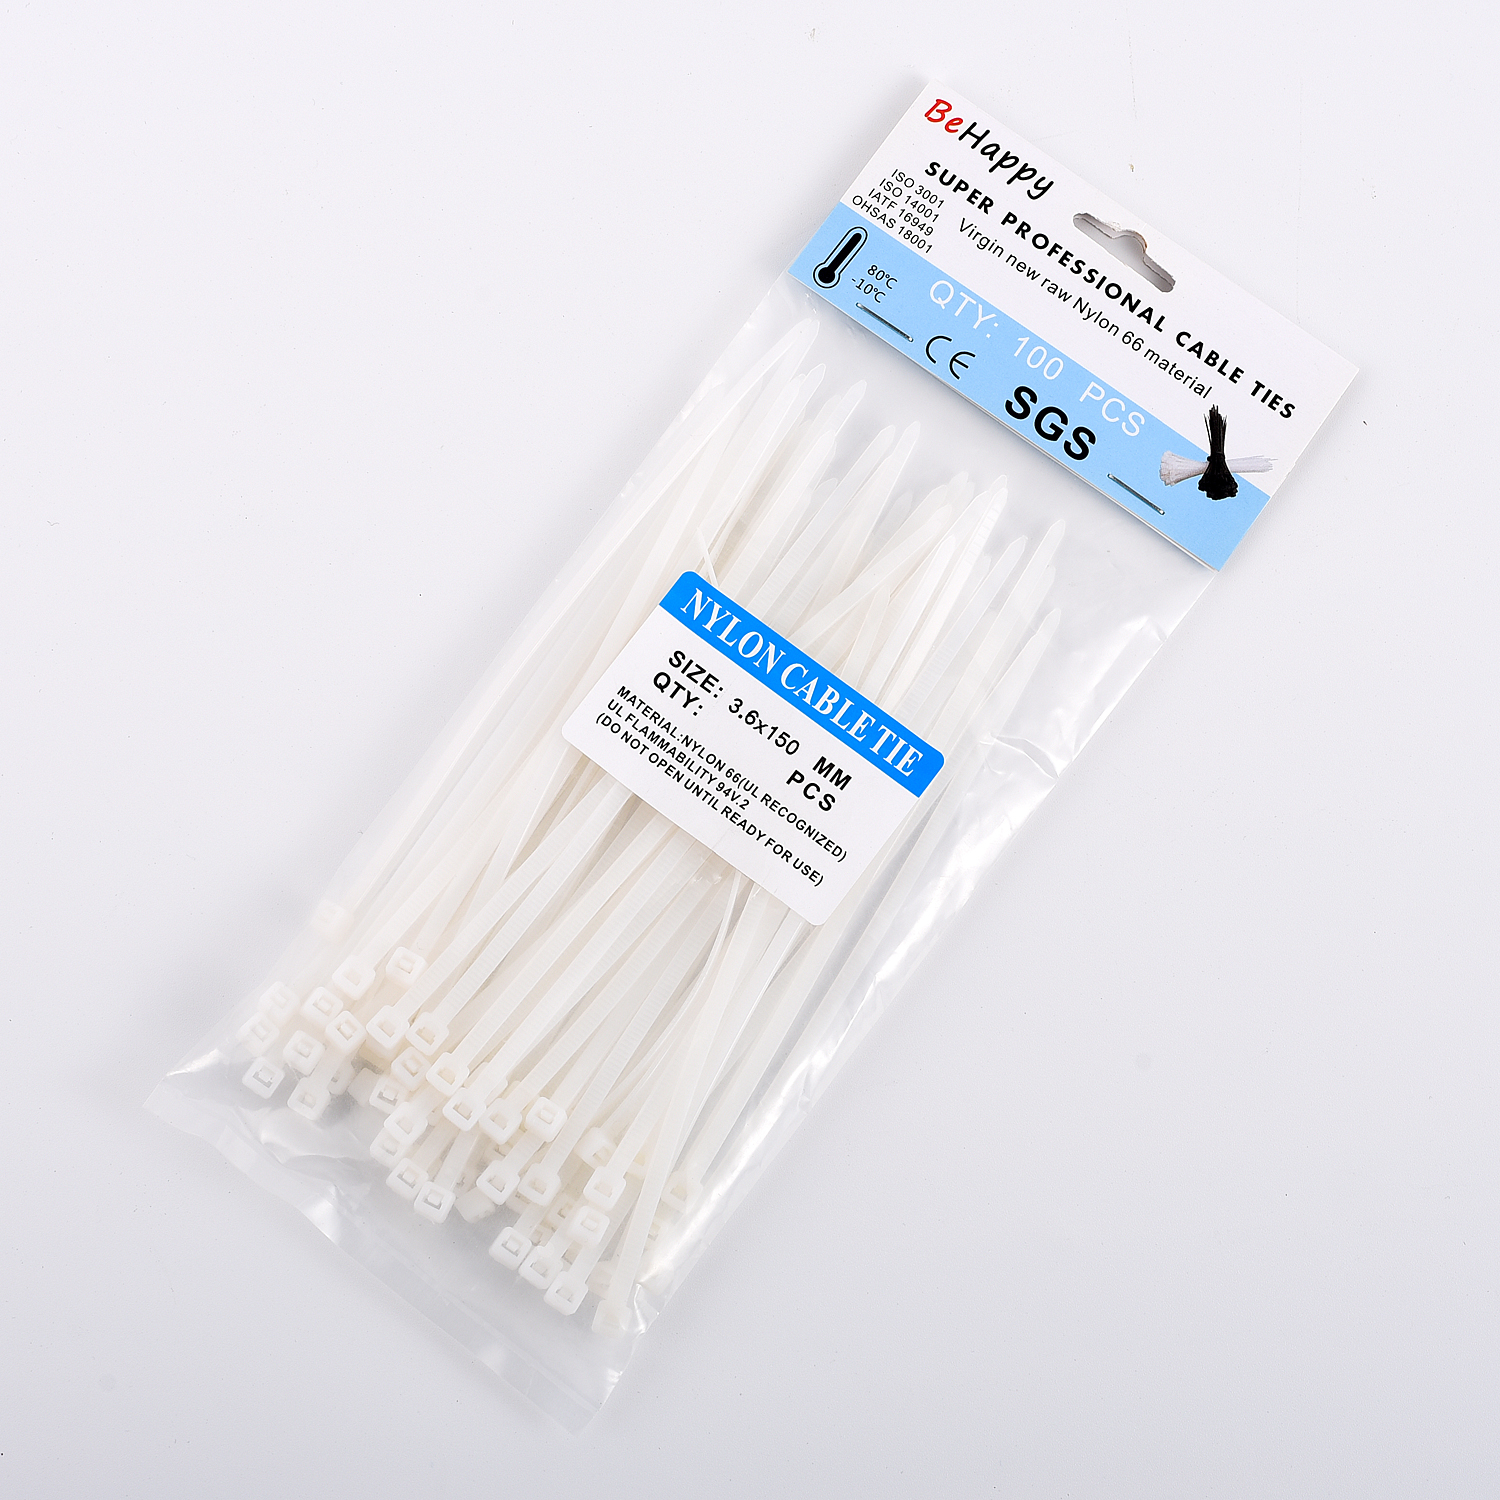
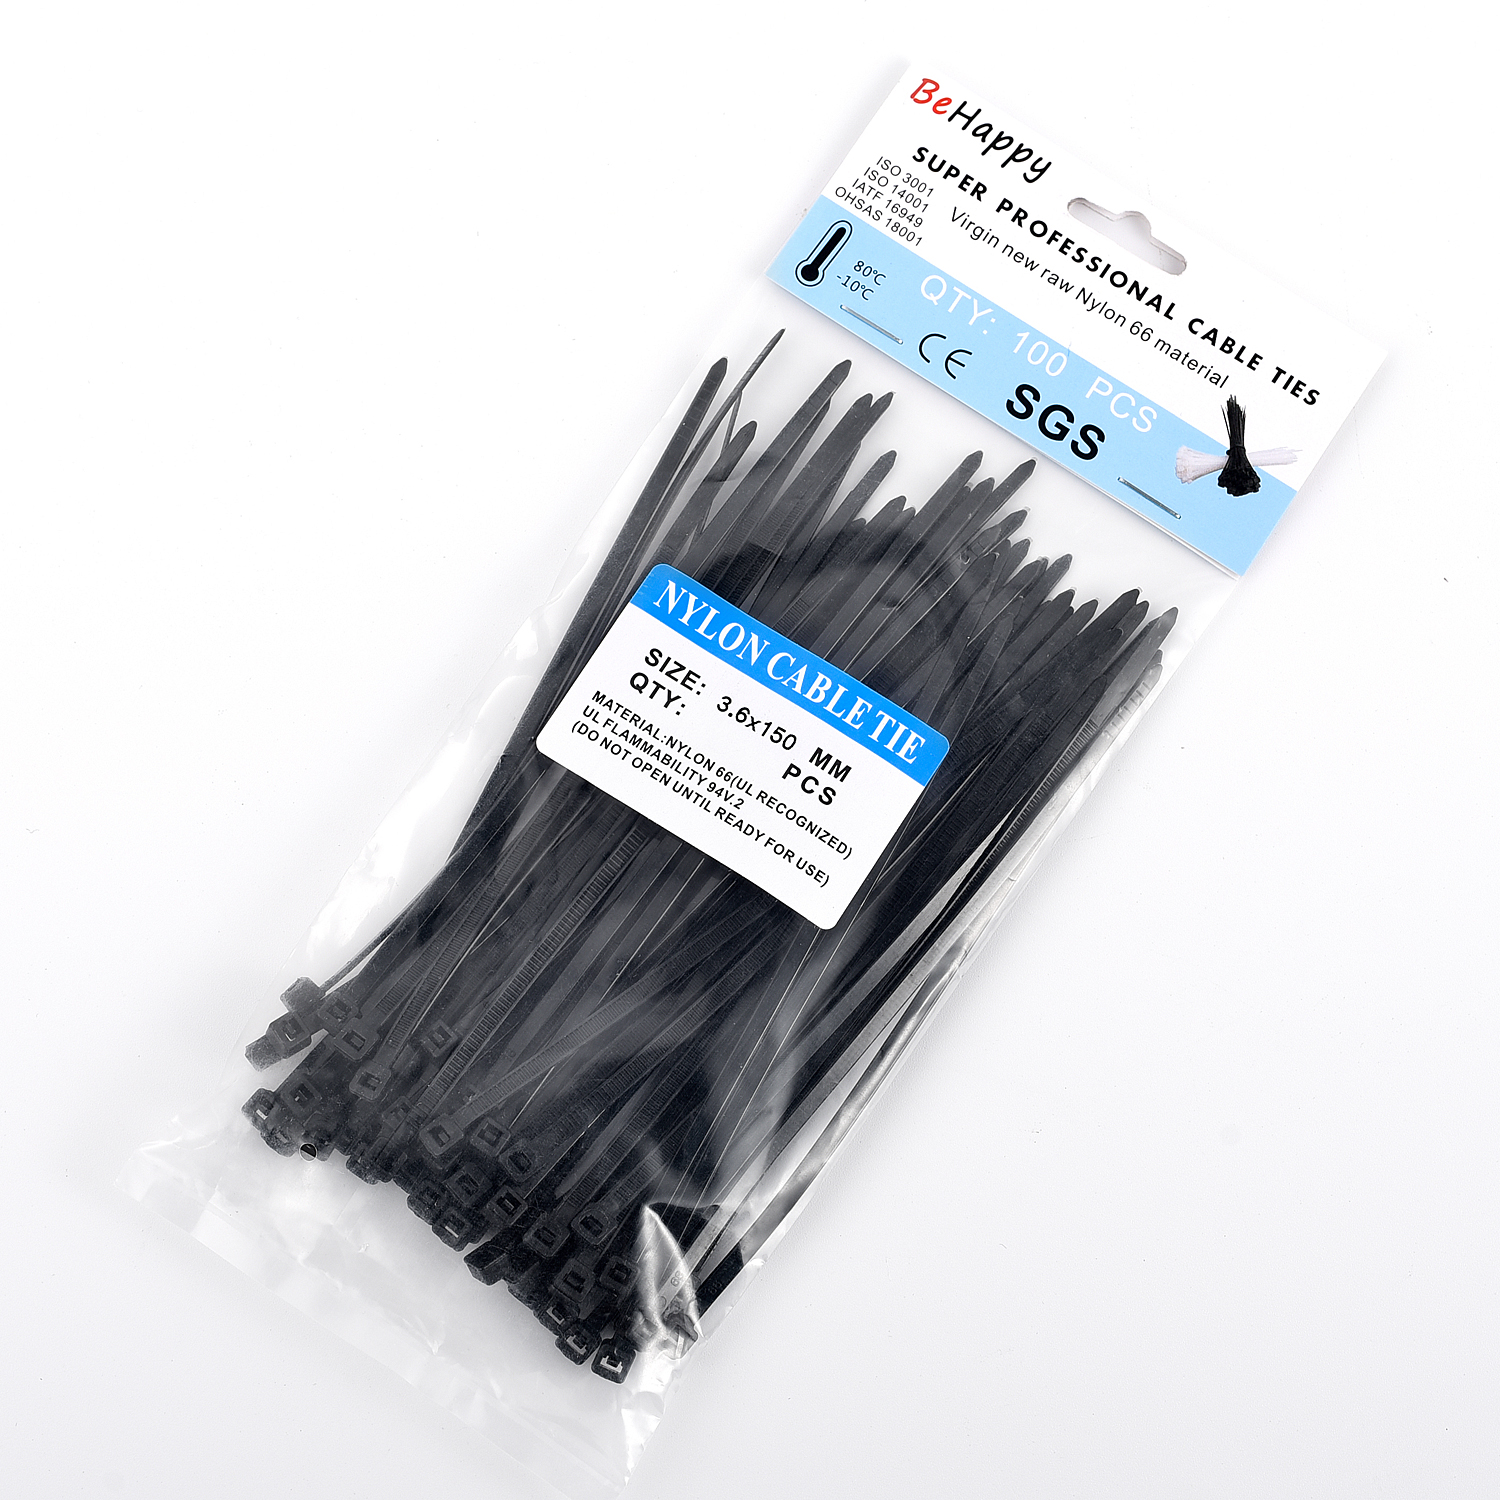
Cable tie is used to tie things together. According to the material, it can be divided into nylon cable ties, stainless steel cable ties, plastic-sprayed stainless steel cable ties, etc.; according to the function, it can also be divided into ordinary cable ties, retractable cable ties, label cable ties, heavy tension cable tie, etc. The cable tie is made of UL-approved nylon 66 material with a fire rating of 94V-2. It has the characteristics of acid resistance, corrosion resistance, good insulation, resistance to aging, light weight, safety, non-toxicity, and strong durability. Operating temperature is minus 40 to 90 degrees.
Cable Tie,Nylon Cable Tie,Plastic Cable Tie,Pound Zip Cable Ties Behappy Crafts (suzhou)Co.,Ltd , https://www.haoyuebehappy.com
Figure 1 Stator base round tooling 
Figure 2 measuring center column assembly 

